
It seems as if almost everything is digital these days—and your wallet is no exception. If you’re wondering “What is Apple Pay?”, you’re not alone. Trademore is here to explain everything you need to know about this feature and how to set up Apple Pay on your iPhone.
To start with the basics, Apple Pay is Apple’s mobile payment service. You can think of it as your “digital wallet” for Apple devices like your iPhone or Apple Watch. This feature allows you to use your device to pay for things either online or in-store and eliminates the need for you to pull out your actual credit card or cash at the register. Apple Pay has become very common and is accepted at most top US retailers.
Once you set up Apple Pay, you can add a card to your Apple Wallet and continue to add the cards you wish to turn digital. When you’re making a purchase either in-store or online, you can specify which card you’d like to use. You can also set up a default payment card, so that the card you use for your everyday payments pops up as the first option.
To ensure your transactions are secure, Apple uses “tokenization”. This process protects sensitive data, like your credit card number, by replacing it with an algorithmically generated number called a token. This allows your payment to be passed through the internet or various wireless networks needed to process the payment without your actual bank details being exposed.
In a nutshell, Apple’s goal is to replace your wallet with Apple Pay—and they make it easy to do so. This one-step payment process prevents you from having to dig to find your cards.
Now that we know what Apple Pay is, let’s walk through how to set up Apple Pay on your iPhone. To set up Apple Pay, you first need to make sure your Apple device is running the correct operating system, which is iOS 8.1 or later.
As we mentioned earlier, once you have Apple Pay set up, you can change the default card so that your preferred daily card will pop up when you’re ready to make a purchase. Here’s how:
If you’re making a purchase online through a portal that supports Apple Pay, you’ll choose Apple Pay as your payment method. Your payment info will automatically populate and your identity will be confirmed through Face ID or Touch ID, depending on the phone you have.
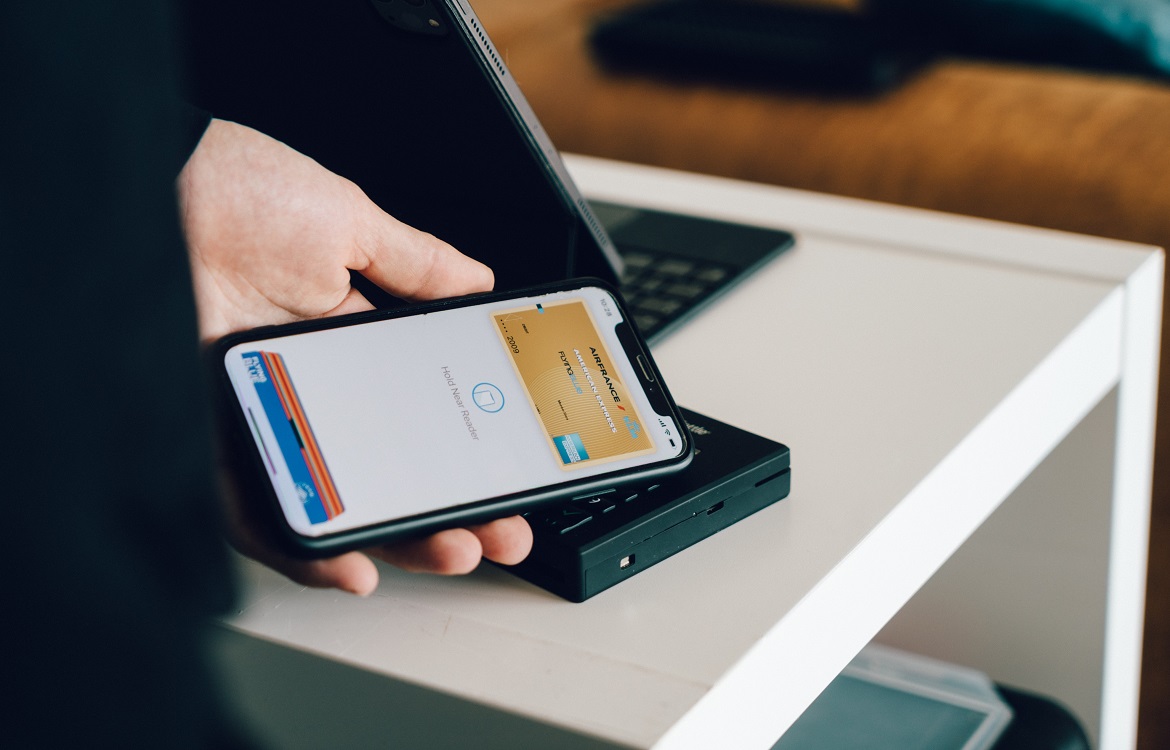
If you’re making a purchase in-store with an iPhone that supports Face ID, double-click the side button to activate Apple Pay. The Wallet screen will appear and scan your face. If you’re on a device with Touch ID, rest your finger on the home button until the Wallet screen appears.
Hold the phone over the terminal. When you hear the terminal beep, you know the payment was successful.
Keep in mind you can tap on any card you prefer to use for a specific payment.
If you’d like to view all of the transactions you’ve made using Apple Pay, follow these steps:
Note: If you don’t see any transactions, you may have the history turned off. To turn this back on while in the Transactions tab, toggle on “Show History.”
We hope this guide helped you understand everything you need to know about Apple Pay. For tips, tricks and more guides like this, be sure to visit the Trademore blog.
Trademore has no connections, affiliations, partnerships or sponsorship agreements with the companies, entities, services and/or products mentioned in this blog post. The opinions, thoughts, views and expressions made within this blog post are independently created by and attributable to Trademore authors and/or contributors.