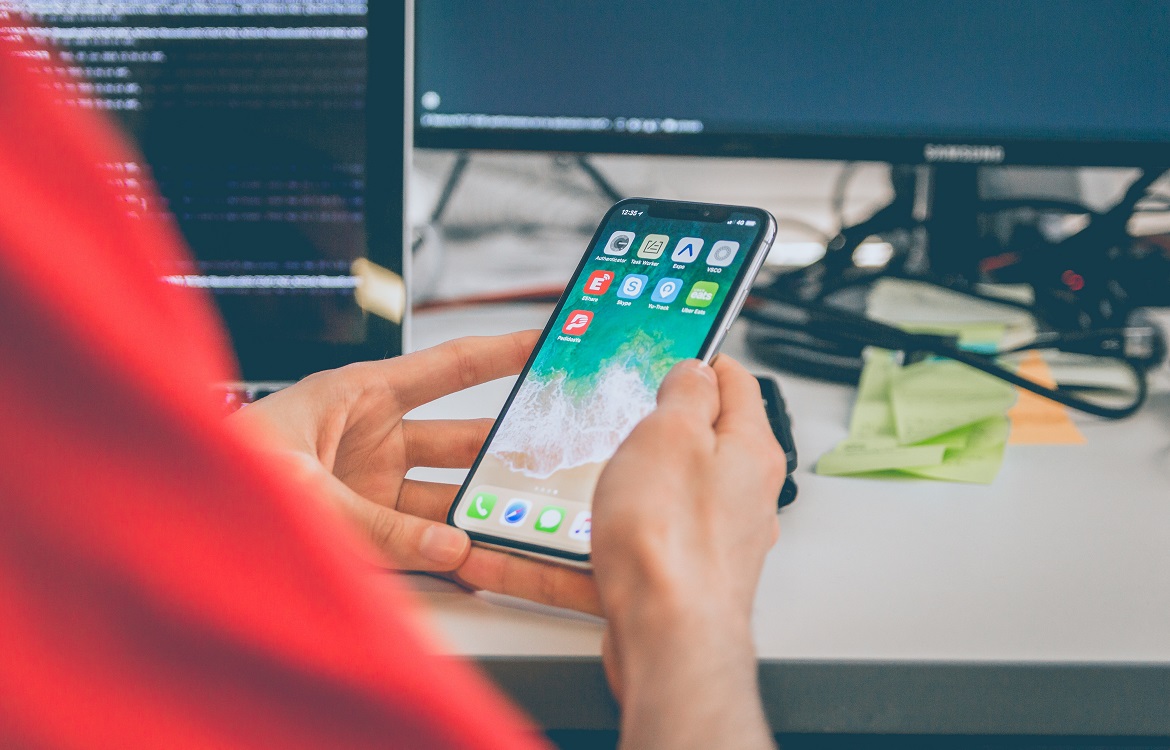


Learning how to record your screen on your iPhone is a great way to make your own videos or preserve a FaceTime call with a loved one. Luckily, learning how to screen record on your iPhone is pretty easy. If you have iOS 14 or later, the steps outlined below will work for you.
Here are the general steps for how to screen record on an iPhone running iOS 14 or later:
Congratulations! You’ve made your very first screen recording using your iPhone.
There are two kinds of audio that can be captured when you screen record with your iPhone: in-app sounds and ambient sounds, such as your own voice and sounds around you. We’ll outline the steps for engaging and disengaging both kinds of audio recording.
To capture the sounds made in an app when you record your iPhone screen, you need to ensure that you’ve given Microphone access to that app:
You can leave this setting on if you’d like or revoke microphone access after recording if you’d prefer.
If you’d like to narrate your iPhone screen recording or simply include the sounds around you during your recording, follow these steps to enable your Microphone at the same time as you begin your recording:
Note that once the Microphone has been toggled on for iPhone screen recording, it will continue recording during future screen recordings unless you toggle off the option.
If you need to ensure that nothing interrupts your iPhone screen recording, you’ll want to turn on Do Not Disturb temporarily:
Don’t forget to turn off Do Not Disturb when you’re done making your iPhone screen recordings.
Some applications block the ability to record your iPhone screen, usually because of privacy reasons or copyright laws. You’ll know an app won’t let you record your screen if your video is blank. The Terms of Service of the app likely indicate that you agree not to record the app during use—so don’t!
Check out the Trademore blog for more tips, tricks, and how-to guides like this. Thinking of buying a new Apple or Samsung device? Trademore has lots of options to explore.
Trademore has no connections, affiliations, partnerships or sponsorship agreements with the companies, entities, services and/or products mentioned in this blog post. The opinions, thoughts, views and expressions made within this blog post are independently created by and attributable to Trademore authors and/or contributors.